Database query program (GUI) using PAGE, tkinter, and pandas
This project differs from project 1 by discussing the following topics.
- Addition of comboboxes, dialogboxes to the GUI interface.
- Connecting to a database file and querying data using pandas.
- Addition of a canvas to the GUI and inserting images in it.
- Exception handling in Python.
- Changing font sizes for different labels.
- Packaging the .py files ,including the images, as a standalone .exe file for distribution using pyinstaller.
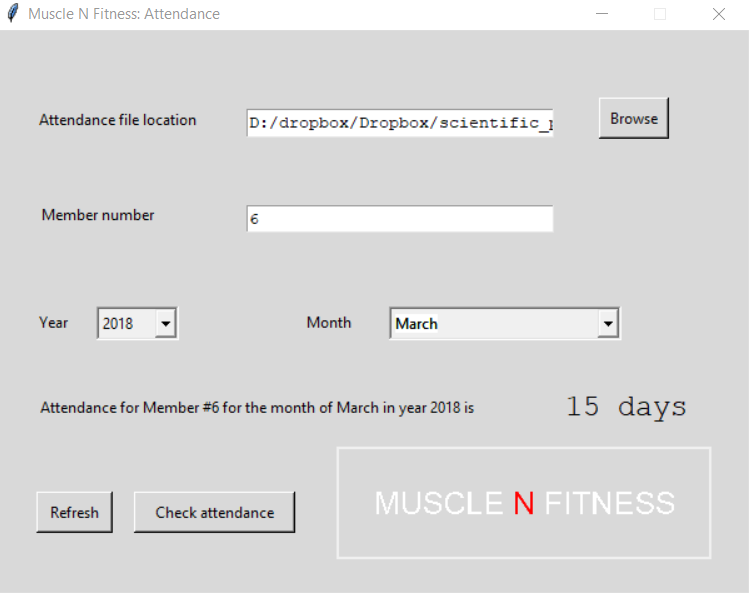
PAGE can be used to create the GUI interface (shown below) to include the labels, entry boxes, and buttons as explained in Project1.
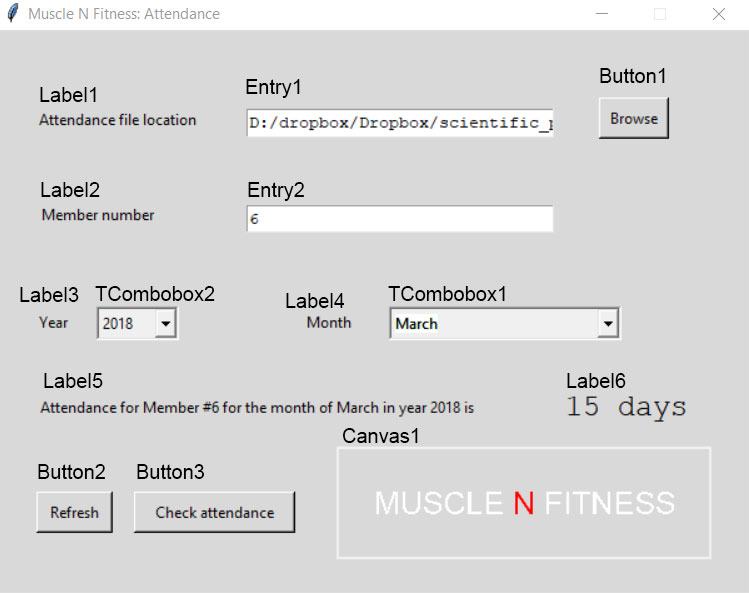
The aliases for the labels, entry boxes, buttons, comboboxes, and canvas are shown below.
Following import statements are needed at the top of the script.
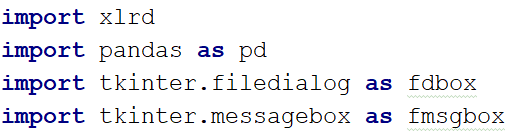
xlrd module is needed to open Microsoft Excel files. pandas module is needed for analysis of the Excel file. tkinter.filedialog is needed to open a dialog box to search the system to browse for files. tkinter.messagebox is needed to pop up message boxes to give certain notifications to the user.
The Toplevel widget on which the interface is built, was named as Attendance. Therefore the functions we define are added between class Attendance: and def _init_(self, top=None) statements as shown below.

Explanation of added functions
Triggering a dialogbox with a button-click
Code from line #85 to line #89 implement the opening of a dialogbox to search the system to select the database file. By specifying filetypes=[(“All files”, “*.*”)] we make sure that all files will be available for selection. Once the file is selected by double-clicking, the path for the file will be added to the Entry1 box.
To explain the rest of the code, discussion of the inclusion of comboboxes is necessary.
TCombobox1 to accept the month of attendance
This code is added below def __init__(self, top=None)

This combobox is used to accept the month input from the user. Their are 12 options for the 12 months which are specified as a list as shown in line numbers #179 and #180. In line #177 by state=’readonly’ we make sure that the user cannot type into the combobox. In line #182 by self.TCombobox1.current(0) we set the default choice of the TCombobox1 as January (which is the first element in the list value_list1, specified in line #179). Line #178 specifies the exact x,y position of the TCombobox1 and the height and width.
TCombobox2 to accept the year of attendance

The explanation of the above code is similar to that of the TCombobox1.
Explanation of the function checkAttendance(self)
Code from line #56 to line #66 is inside a try block to catch any possible exceptions that are explicitly caught by code from line #67 to line #75.
Line #56 passes the path to the database file (previously chosen using the dialogbox) which is in Entry1 box to the pandas ExcelFile function and assigns the resulting file object to the variable x1. An image of the Excel file we are connecting to, is shown below.
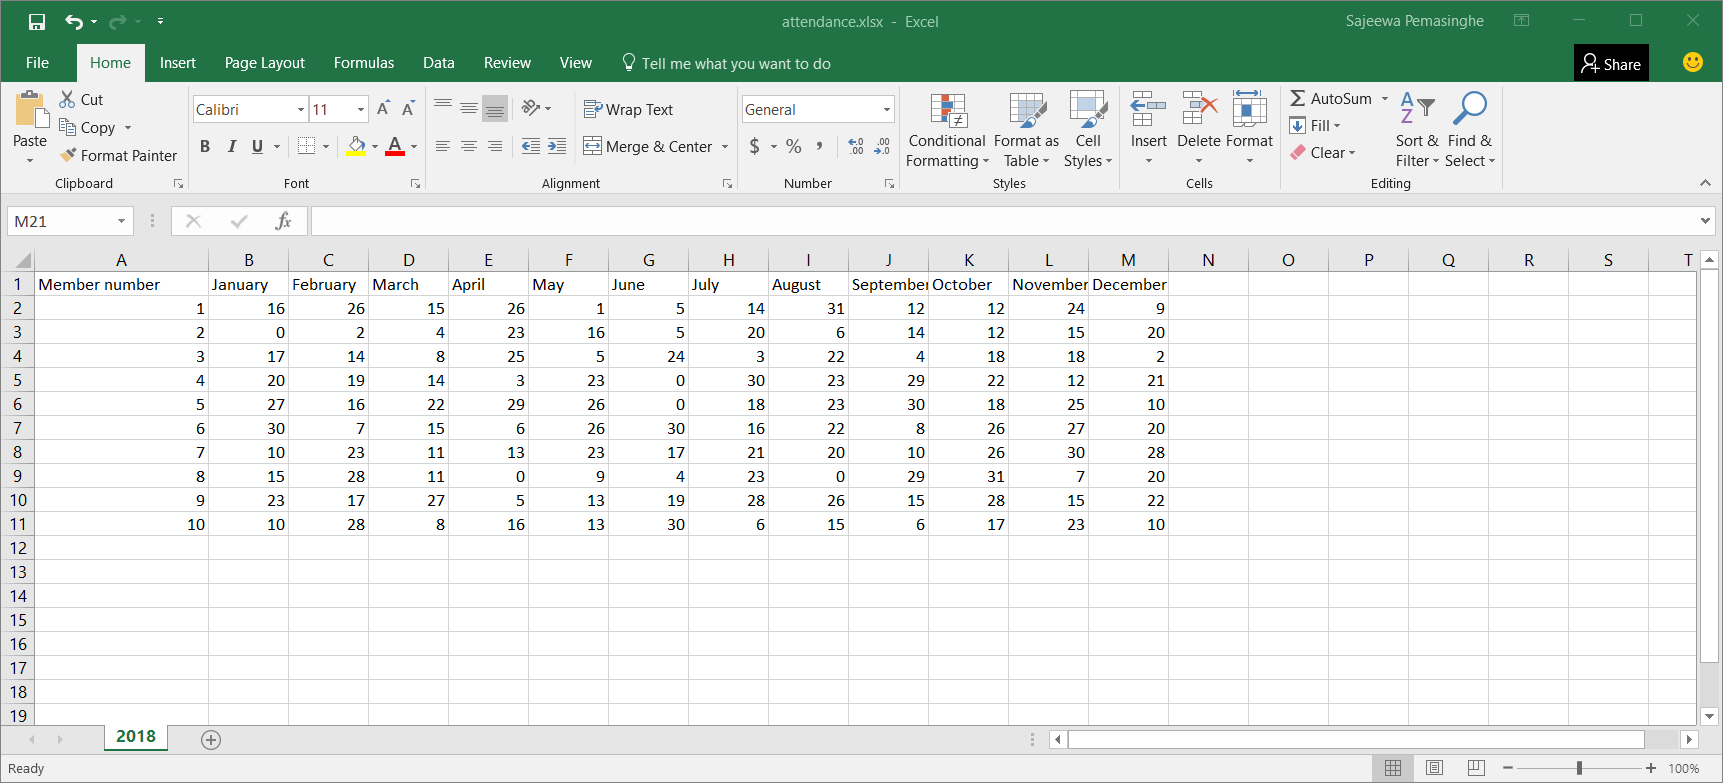
Line #57 retrieves the selected year value from TCombobox2 and passes it to the x1.parse( ) function. x1.parse( ) function reads the Excel file by sheet name which is currently 2018. In 2019 the person who maintains the attendance database can add the sheet 2019 and the following year 2020 sheet and so on. The output of the x1.parse( ) function is a dataframe object and this is assigned to the variable df1.
Line #58 defines the key of the dataframe as ‘Member number’ field. inplace=True makes sure that the newly defined key is active for the current dataframe and not for a copy of the dataframe (so that it replaces the default key of the dataframe by the new key).
The if condition defined in line #59 makes sure that the Member number defined in Entry2 box is less than or equal to the highest Member number in the database file.
Code from line #60 to line #62 insert the text notifying the user’s selection of member number, month, and the year to the Label5.
In line #63 using the .loc function of the dataframe object df1 the database file is searched using the ‘Member number‘ key (the value of which is entered into the Entry 2 box) and the Month (the value of which is retrieved from TCombobox1).
If the user has entered a member number higher than the maximum value in the database, the else condition displays a messagebox with the message “Wrong member number” and the title “Input error”.
Handling exceptions
If the filename specified in Entry1 box is invalid, the code from line #67 to line #69 handles that exception by displaying a message “No such file or directory“.
If by accident the user enters an incompatible member number, code from line #70 to line #72 displays the message “No such member number“.
If the user has selected an year in TCombobox2 for which a sheet has not been created yet in the database file lines 73 to 75 handle that exception by displaying a message “Year not available yet“.
The doRefresh( ) function
The doRefresh( ) function empties the Entry2 box, changes the value of the TCombobox1 to January and the value of TCombobox2 to 2018. It also replaces the text in Label5 to “Awaiting input.” and empties the text value of Label6.
Changing the font/font-size of a label
The font and the font-size of a label can be configured in the following way.
Addition of a canvas to the GUI and inserting images in it
The image we want to add can be created with the required pixel height and width using a software like Photoshop. Since we are thinking of bundling the Python application as a standalone .exe file we don’t want to add any paths to the image file in the system from within the .py file as that link wouldn’t work in another computer.
So we have to encode the image and import a Python file which includes the encoded String, into our program as a module.
So the first step is to create a small program as shown below to generate the encoded String for the image file.

The generated text String should be included in a separate .py file as below.
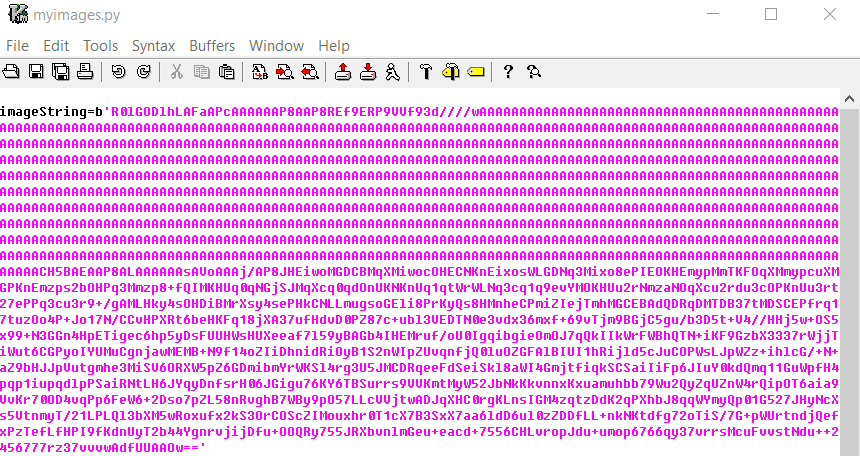
The above myimages.py file should be imported as a module, as shown below.
Now that we have imported the image data into our Python program we can assign the image data to a variable as shown below.

Now we can create the canvas and load the image into it as shown below.

For the image to fully occupy the canvas, the pixel width and height of the canvas and the image should match. By uncommenting self.Canvas1.configure(relief=RIDGE), we can add a ridge around the canvas. By uncommenting self.Canvas1.configure(highlightthikness=0), we can remove the tiny white border we see around the Canvas1.
Packaging the .py files ,including the images, as a standalone .exe file for distribution using pyinstaller
You can install pyinstaller to Anaconda by the command conda install -c accelera pyinstaller
If you have a separate Python installation called python36 in Windows you can install pyinstaller by the command python36 -m pip install pyinstaller
Then make sure that you have added pyinstaller to your path.
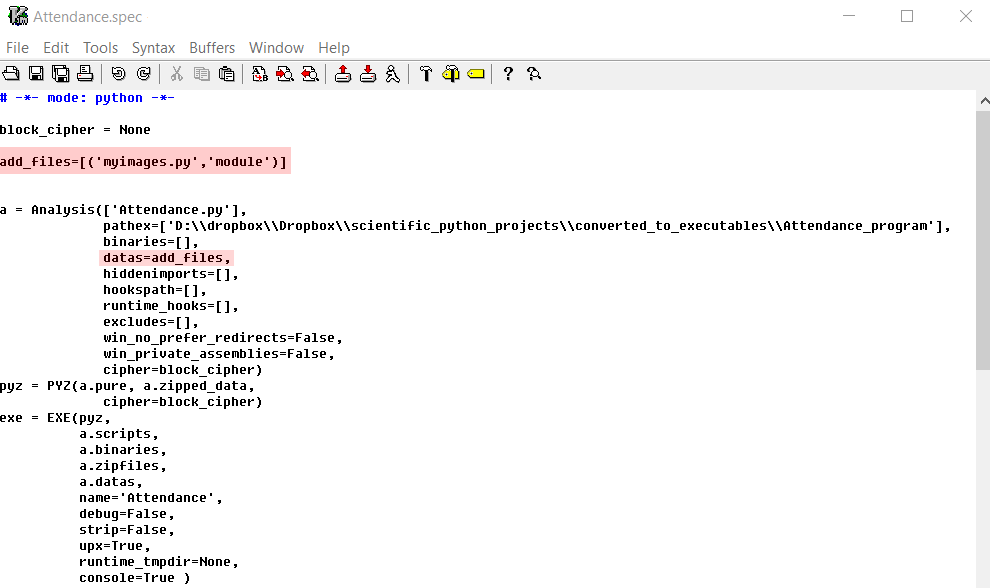
pyinstaller needs a .spec file to bundle the necessary modules and added files to an .exe file. You can modify the .spec file by adding the myimages.py file to the .spec file as shown below.
Now we can create our standalone .exe file using the command
pyinstaller --onefile --noconsole Attendance.spec